After Effects.
For News, we are going to be required to use After Effects much more than we have in our previous projects. Ferg went through a workshop with us to help us understand how to process green screen and how to create 3D graphics (such as a spinning globe).
Terminology
There are different kinds of 'keys' used to create backgrounds or graphics for TV and film;
- Alpha key
- This removes shapes from a clip
- Luma key
- This removes light or dark from a clip
- Chroma key
- This removes colour from a clip
- Most notably used for green screen.
History
We watched a video similar to this one about how green-screening came to be.
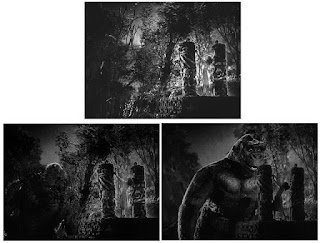
When film was solely used, they would use pieces of glass with black squares painted onto them over the lens to block out a certain point on the film. They would then paint another piece of glass that was the exact opposite of the first piece, and film on another piece of film what they wanted to appear within the first blacked out area. Finally, they would combine the 2 images by creating a composite of both using an optical printer, which would create the final product.
 The first optical printer was created by Lynwood G. Dunne, and it allowed film makers to re-photograph one or more reels of film at the same time, to create effects such as super-imposition, dissolves, and compositing.
After the frames of glass came something called a travelling matte.
This used lights that would only give off a very specific wavelength that could be picked up by 1 piece of film and not with another, to create the travelling matte that could then be combined with other backgrounds.
Green screening in After Effects
Here's the process that we learned, to put a background onto a green screen.
- Open up AE and drag the original file onto Create New Composition to bring up the right file settings.
- Search Key in the effects dropdown menu and use Keylight 1.2.
- In the effect settings, on Screen Colour, pipette in the green from the background.
- In View select Screen Matte.
- Under Screen Matte dropdown, adjust Clip White and Clip Black to create a clearer difference between the black and white.
- Drag the background image of your choice onto the timeline beneath the original video.
- Under effect controls on View select Final Project.
To output the final project
- Ensure you have the correct timeline selected.
- Under Composition, click Add to Render Queue.
- On the file that appears in the render queue, click Lossless
- Click on Format Options.
- Select Apple Pro Res 422.
- Click Ok.
- Back on the render queue, click Not Yet Specified and select where you want the file to save.
- On the render queue, click Render at the top right.
Comments
Post a Comment